Unlike most other search facilities, this one uses JavaScript (rather than server-side technologies, such as PHP or Perl), so everything can be set up in Freeway itself. This means that it can be tested “locally” (ie, by previewing the file in a browser) and it will work when delivered to a customer for testing on CD, DVD or via email. It is also worth noting that there is no branding on the search form or results, which is a common issue when using third-party search facilities.
Applying the Folder Action
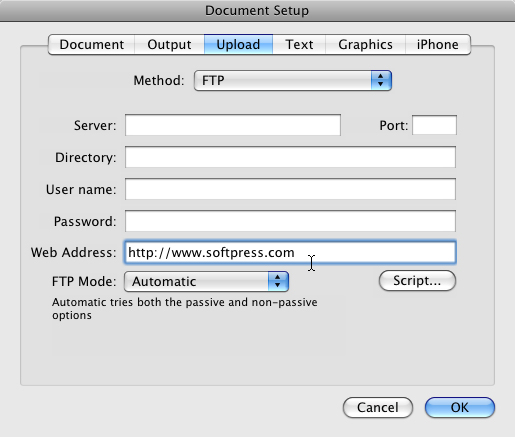
The first Action in the suite is a Folder Action which needs to be applied to the Site Folder. First, however, you will need to enter the web address (where the site will eventually be available once it is uploaded) in the Upload panel of the Document Setup dialog. If you apply the Action without entering a web address you will see a prompt in the Actions palette telling you to set up the URL.To enter the URL go to File>Document Setup, click on the Upload tab, enter the URL in the Web Address field and click OK.
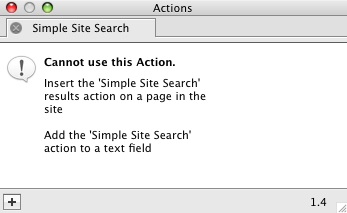
The Actions palette will now display a message prompting you to insert the results Action to a page in your site and also to add an Action to a text field.
Creating the search form
The search form is a text field where the visitor can enter the term(s) they want to search for on your page or pages, and it needs to be used in conjunction with a submit button to submit the term. Note that this can be used on one or more specific pages, or it can be used on a Master page so a search can be made on all the pages of your site.First you need to create the text field. To do this, click and hold on the HTML button on Freeway’s tool bar, choose Text Field (for those using Freeway 5.5 or earlier) or Input/Field (for those using Freeway 6 or later) then draw an item on your page. This is a standard HTML text field item and you can make it the width you want it to be by resizing the item or by entering a value in the Output Settings tab of the Inspector when the item is selected on the page.
With the item selected, go to Item>Actions and choose Simple Site Search from the list. Note that the Actions palette now displays just a single prompt (to insert a results action on a page of your site).
Because the Text Field item is a form item, we now need to use a submit button on the page so the text field’s content can be submitted. Click and hold on the HTML tool again, choose Button, then draw an item on the page alongside the text field.
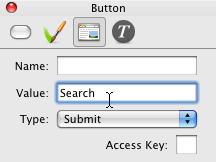
On the Freeway page you will now see that there is a text field with a button displaying the word “Submit”. If you want to change the wording on the button, select it, go to the Output Settings tab of the Inspector and enter the word(s) you want to use in the Value field.
Creating a search results area
The final part of the Simple Site Search Actions suite is to add an item on your page where the visitor will see a list of search results displayed. This can be on any page, but perhaps the best method is to create a new page specifically to display the list of search results. When the visitor enters the term(s) in the text field and clicks the submit/search button, they will automatically be taken to the page on which the results area is used on.To make a search results area, click and hold on the Actions tool on Freeway’s tool bar, choose Simple Site Search then draw an item on the page. This item will display with dummy text inside it, so you have a live preview of how the search results will look when it is used in a browser.
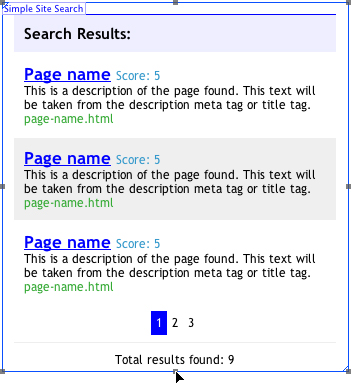
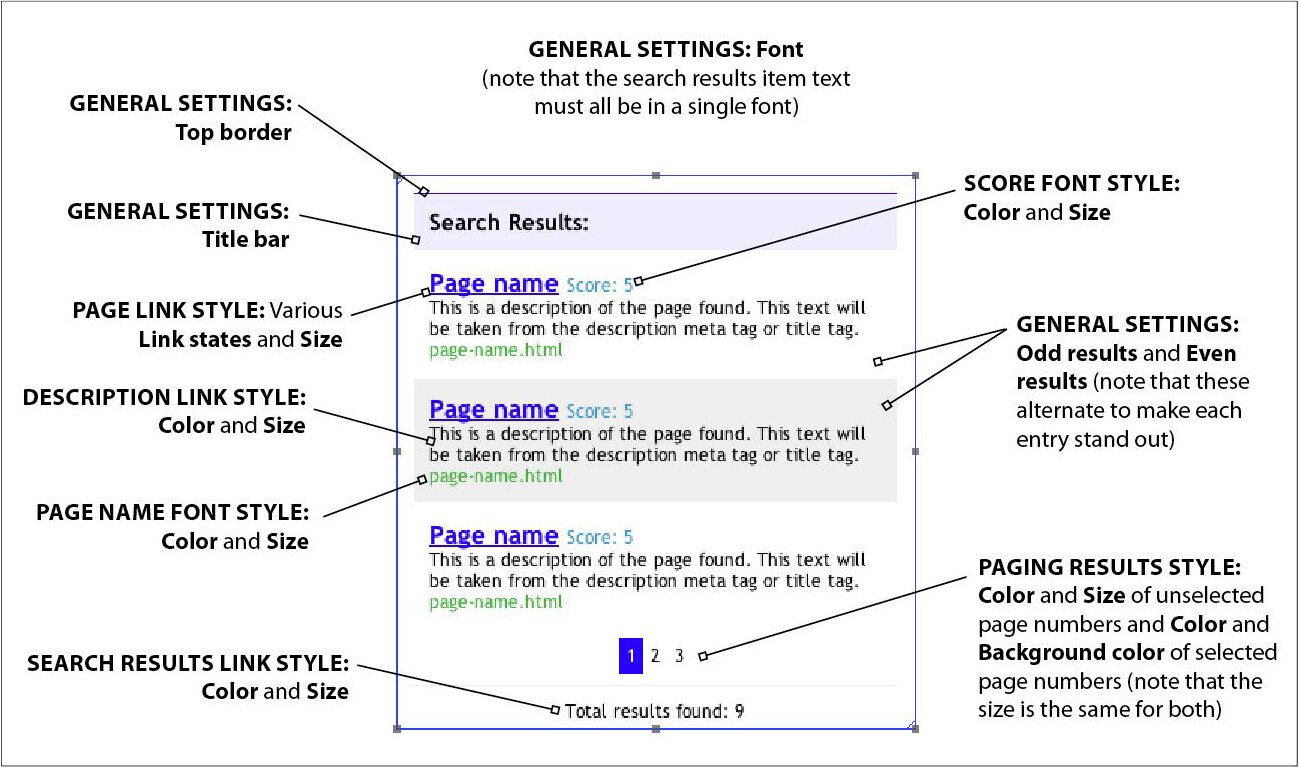
All other options in the Actions palette relate to the styling of the results list in six different groups of options which you can choose by clicking and holding on the Style options popup and choosing the panel you want to display.

Page titles and descriptions used in the search results item
You can see in the search results item dummy text that the wording displayed when the page is viewed in a browser takes its information from the “title” and “description” meta tags.The “title” meta tag is used for what the dummy text displays as the large blue “Page name” text in its default styling. The information displayed here when the page is viewed in a browser is simply the wording used in the Title field of the Inspector for each page in your site.
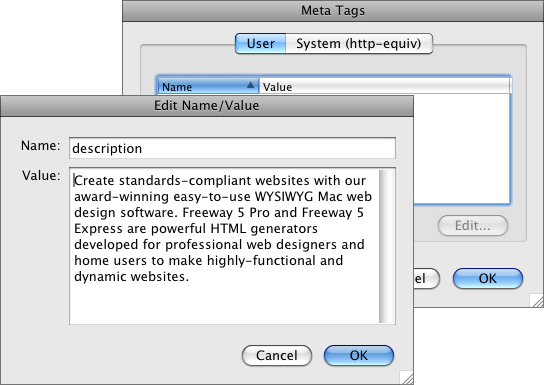
To create a description meta tag for your pages, go to each in turn and go to Page>Meta tags. You’ll see there is already one meta tag in the Meta Tags dialog by default (the “generator” tag, which is normal). Click New and in the dialog that appears enter “description” without quotes in the Name field. In the Value field write up to a 30-word description. Anything more than this may not be read by some search engines. Click OK to apply the tag.
If you preview the site in a browser again, you will see that the Description text you just entered will now appear in the wording of the search results item’s text.
Using custom text for the search results item
Excluding specified content from the Simple Site Search Action
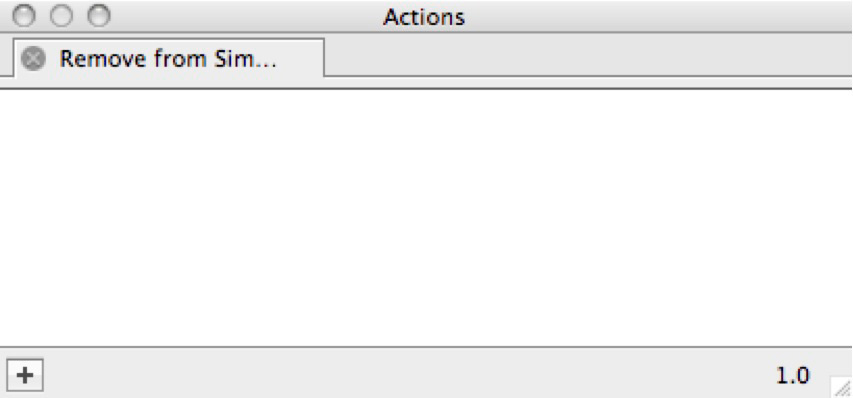
Three new Actions were introduced in Freeway 5.6 which let you exclude items, pages and page folders from the search results generated by the Simple Site Search Action.- To exclude the content within an item from the search results, select the item then go to Item>Actions and choose Remove from Simple Site Search.
- To exclude the entire content of a page from the search results, make sure nothing is selected on the page then go to Page>Page Actions and choose Remove from Simple Site Search.
- To exclude the content of all the pages in a particular page folder from the search results, select the page folder in the site panel then go to Page>Folder Actions and choose Remove from Simple Site Search.