What the Action can do: This Action lets you do the following:
- It lets you apply a solarizing effect to an image imported into a graphic item.
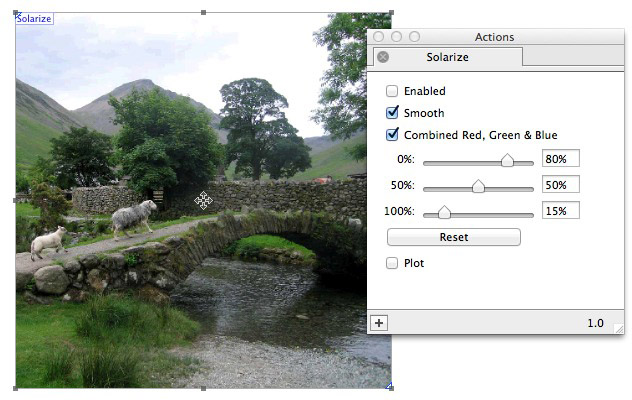
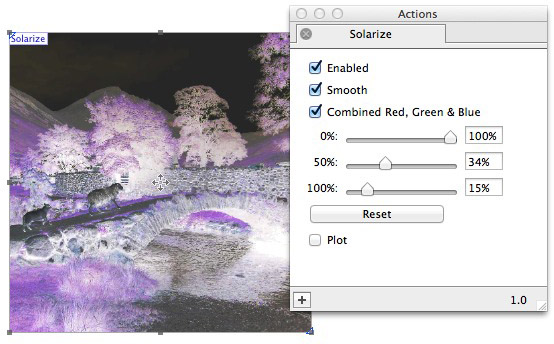
- Enabled: This option is checked by default. When checked you will see a live preview of the effects applied when options are used in the Actions palette. To see a "before and after" of the original image (with and without the Action applied), switch the Enabled option on and off. Remember to leave it checked when you have finished.
- Smooth: This option can sometimes help to smooth out any abrupt lines caused by the effect (although it seldom has much effect), but we recommend you leave it switched on.
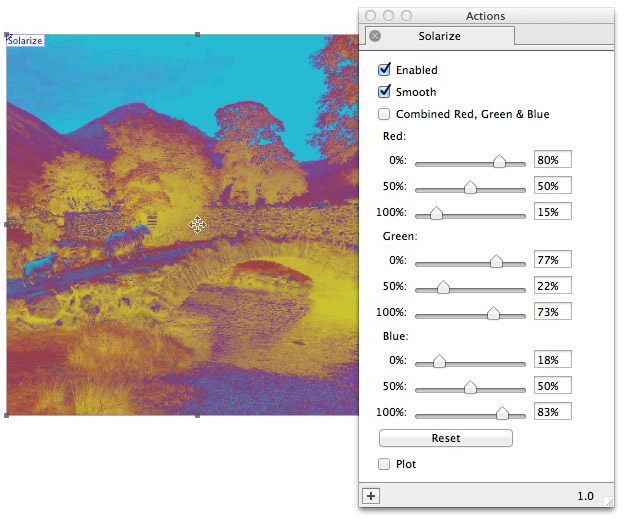
- Combined Red, Green & Blue: By default a single set of RGB values is displayed, but if you uncheck this option three separate groups of sliders will appear for each of Red, Green and Blue (which gives you greater control over the solarization effect applied. Use the sliders (or value fields) to change the values for Red, Green and Blue used by the graphic.
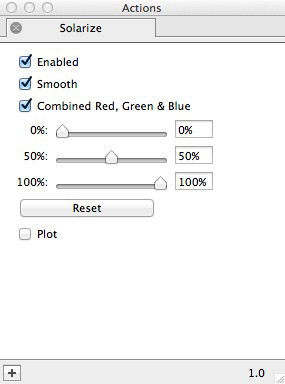
- Reset: Click on this button to return all the options to their default settings.
- Plot: If you check this option, the image will change to a graphic representation of the plot graph of the RGB values chosen in the sliders above.
Examples
Below you can see examples of how the original image (shown first which the Action disabled) will look when the options displayed in the Actions palette alongside each sample has been set up.