What the Action can do: This Action lets you do the following:
- It lets you easily change a color photograph (or other graphic) into a duotone or tritone image.
When the Action is first applied to a graphic item, the default colors used are black and white, which will effectively turn a color image into a black and white (greyscale) image - but to make it a proper duotone or tritone, you will need to choose the colors you wish to use.
To apply the Action, select a graphic item containing an imported image, go to Item>Actions and choose Duotone. With the item selected, see the options in the Actions palette:
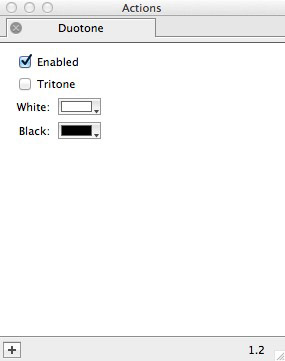
- Enabled: This option is checked by default. When checked you will see a live preview of the effects applied when options are used in the Actions palette. To see a "before and after" of the original image (with and without the Action applied), switch the Enabled option on and off. Remember to leave it checked when you have finished.
- Tritone: By default, this option is turned off. By turning the option on, you will see that you have the option to choose a third color (which is red by default, but this can be changed to the color you wish to use) along with the default two colors (white and black) that display with the option switched off.
- White: This is the color swatch for the "highlight" values of the image. By default this is set to the color of White, but you can change this so that the highlights of the imported image display a different color. Note that unless you want the image to display with a "negative" effect, the color chosen in this swatch should be lighter than the color chosen in the Black swatch. For the best effects, choose a very pale color.
- Black: This is color swatch for the "shadow" values of the image. By default this is set to the color of Black, but you can cahnge this so that the shadows of the imported image display a different color. Note that unless you want the image to display with a "negative" effect, the color chosen in this swatch should be darker than the color chosen in the White swatch. For the best effects, choose a very dark color.
Examples
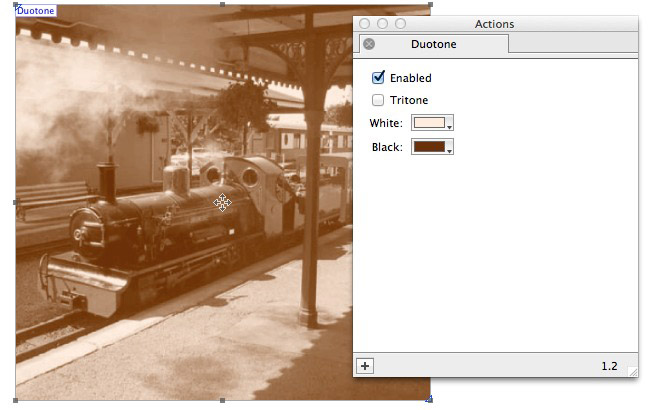
Below you can see examples of how the original image (shown first) looks when the Action is applied originally (which as mentioned earlier changes the image to a black and white (grayscale) image. The second sample shows what happens when a pale brown/yellow color is chosen in the White swatch and a dark brown is chosen in the Black swatch, to give a sepia effect to the imported image.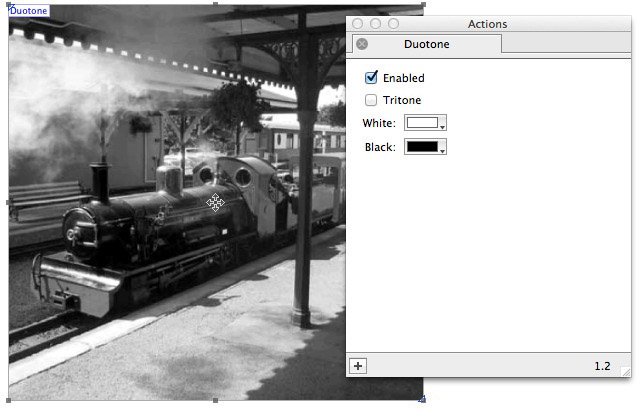
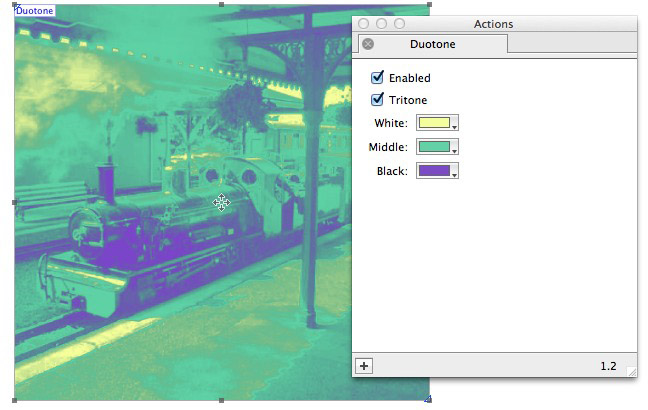
The next sample was made with the Tritone option switched on. Using a very pale color in the White swatch and a dark color in the Black swatch, it is important that the color chosen in the Middle swatch is one which is somewhere between the two other colors.