What the Action can do: This Action lets you do the following:
- It lets you apply blur effects on an imported image.
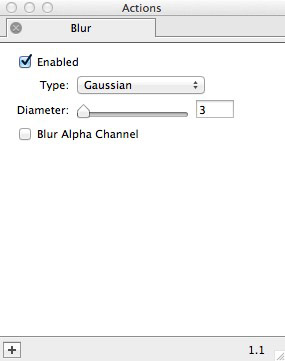
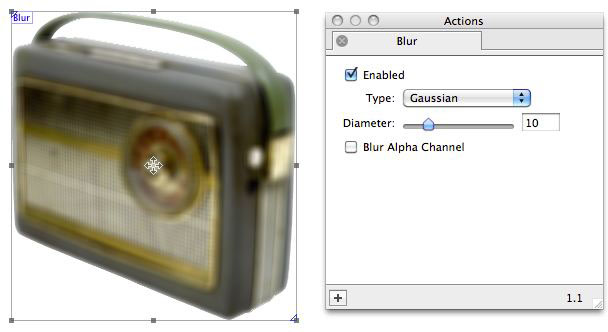
- Enabled: This option is checked by default. When checked you will see a live preview of the effects applied when options are used in the Actions palette. To see a "before and after" of the original image (with and without the Action applied), switch the Enabled option on and off. Remember to leave it checked when you have finished.
- Type: Choose from three different types of blur in this popup. However, the different blurring methods are similar enough to recommend that it is left to the default of Gaussian (which is now the standard method used for digital blur effects).
- Diameter: Choose the level of blurring you wish to use. The higher the blur value (which has a maximum value of 40), the more blur will be applied. Either use the slider to change the amount of blur, or enter a specific value in the value field on the right.
- Blur Alpha Channel: The default is for this option to be switched off, which means that the blurring effect when used on an imported graphic with an "alpha channel" (such as a PNG-24 cut-out image with a transparent background) will finish where the alpha channel begins. Check this option if you wish to blur the edge of a cut-out image.
Examples
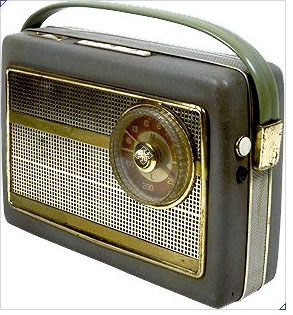
Below you can see examples of how the original image (shown first) will look when the options displayed in the Actions palette alongside each sample has been set up. The main difference you will see is that the cut-out image has a blurred edge on the last sample because the Blur Alpha Channel option has been switched on.