The days of having to use standard fonts like Times New Roman, Helvetica, and Arial or sacrificing accessibility and load times for graphic text with special fonts are nearing their end due to new advances in web technology. There are now a number of ways to add visual interest to your text by using non-standard fonts. One of the easiest is to use Google Web Fonts. Using a Google font only requires a few steps in Freeway, and you do not have to worry about uploading any extra resources.
Using a single Google Web Font
Go to Google Web Fonts and select the font you want to use. Once you've selected your font, click the Quick-use option in the lower menu.
In order to see the font when designing your site in Freeway, you need to download it. Click Add Font to your collection at the top right of that page, then click Download your collection below it.
Install the downloaded font by double clicking on it and following the steps in Font Book.
Back on the Quick-use page, follow steps 1 and 2 to select the styles and character sets you want to use. In Step 3, copy the entire line of code from the Standard tab. This should look something like this:
<link href='http://fonts.googleapis.com/css?family=Poiret+One' rel='stylesheet' type='text/css'>
Start or restart Freeway (this is important to load the font into Freeway), select Page > HTML Markup. Make sure the selection menu on the bottom of the dialog box is set to Before </head> and paste the line of code into the dialog box, pressing OK when you're done.
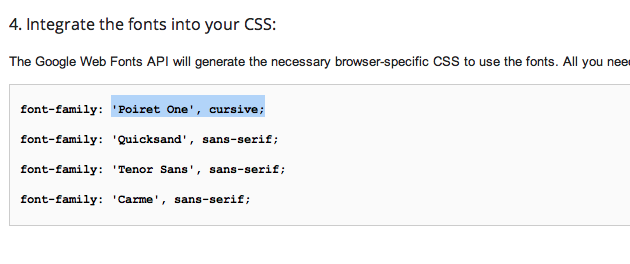
Back on the Quick-use page, copy the font list after the Font-family: text; you only need the part after the colon (see screenshot below). You will make a Font Set in Freeway using that list. You are also able to add more fonts to that list to have more control over the font-degradation for older browsers that do not support Google fonts. Specific directions on creating a Font Set can be found in the article.
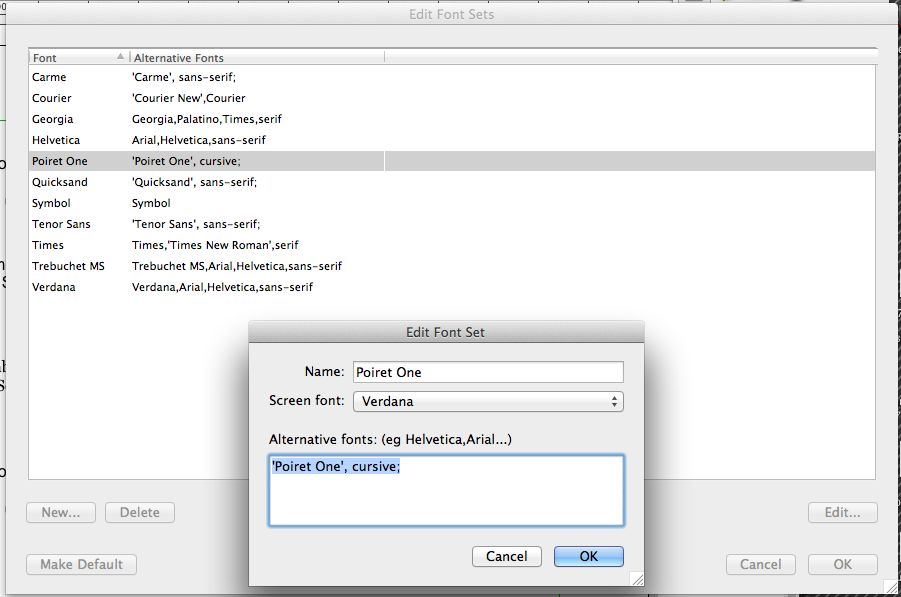
Name your Font Set after the font you selected in Google Fonts, and select the font you installed previously as the Screen font. Paste the font list (which is the copied text shown in the above screenshot) into the Alternative fonts field (see screenshot below).
Once your Font Set is set up, you can create styles with this font, and apply it to text using the Inspector palette as normal.
Using Multiple Google Web Fonts
Use the same steps as above to use multiple fonts, but click the Add to collection button for all the fonts you wish to use (remember that using too many can be a drain on your sites resources). When ready, click the Use button at the very bottom of the window and follow the steps above, creating a new font set in Frereway for each font you selected.